


The Right Way to Repot Your Orchid
Author: Melanie Dearringer4 Comments
Care and Culture, Frequently Asked Questions
Maintenance is an important part of orchid health. And repotting your orchid is part of that unavoidable maintenance. Potting mix breaks down. Orchids outgrow their pots. There are many reasons it is necessary to refresh your orchids living quarters. Here you will learn the optimal time to repot your orchid, what tools and materials you will need, and step by step instructions to do so.
When to Repot

-New leaf growth
The frequency in which you should repot your orchid will differ between the various types. Generally, orchids should be repotted every year or two. The best time to repot an orchid is when it is in active growth. This will typically happen soon after it has finished blooming. During active growth, an orchid will begin to produce new leaves and roots. By repotting at this time, your orchid will better adjust to and quickly settle into the new potting medium.
There are a few instances in which you will need to repot an orchid immediately.
- The plant becomes diseased or pest infested
- The potting medium has severely deteriorated and appears black and slimy
- The plant is suffering from root rot
- Over-fertilization of the orchid
In these situations, it is crucial replace the medium and treat the orchid appropriately to prevent further damage.
The Best Potting Medium
Orchids require a firm, yet fast draining potting medium and you will have several suitable choices. Instead of being overwhelmed with the options, you may want to choose a medium based on your watering habits. If you tend to over-water your plants, choose a potting medium that will dry out faster, such as fir bark. Alternatively, if you tend to neglect your plants, you may want to opt for a potting mix that holds on to moisture longer, such as peat moss.
Preparation
There are a few things you should do prior to removing your orchid from its pot.
- If you are using a potting mixture that consists of bark, you will need to soak the medium overnight. Since bark mixtures do not retain water well, this is an important step to ensuring your orchid receives the proper amount of water after repotting. Other potting medium, such as peat moss and perlite, only need to be thoroughly rinsed.
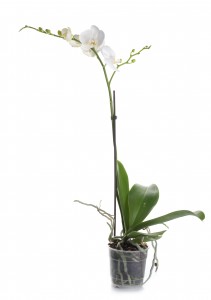 Determine why you are repotting your plant. Has the plant outgrown its current container? If so, choose a container roughly 2″ larger than its current container to accommodate a year or two worth of new growth. Are you repotting due to over-fertilization, pest infestations, root rot, etc? If so, you can often times use the same size container. Orchid roots prefer to be somewhat compact. In addition, choosing the smallest container necessary will help avoid over-watering as smaller containers dry out faster than their larger counterparts. We like to use a clear, plastic pot with drainage holes that can then be dropped into a decorative container with a water reservoir. It is much easier to keep a watchful eye on the orchid’s roots and potting mix this way.
- Sterilize a pair of sharp scissors. This can be done with fire or bleach. This is an often forgotten but incredibly important step. Disease is easy transferred from one plant to the next by the use of unsterilized equipment.
- Make sure you have cinnamon available to treat any cuts you make to the plant. Cinnamon is a natural fungicide.
- Depending on the size of the orchid’s roots, you may need to stake the plant to avoid shifting until the plant is able to stabilize itself. Bamboo stakes or galvanized metal wire are ideal for this.

Repotting Steps
Now that the appropriate preparations have been made, you are ready to repot your orchid.
- Gently remove the orchid from its current pot. Sometimes it helps to tap on the sides of the container to loosen the potting material. Orchid roots will sometimes grow out the drainage holes in its pot making it difficult to remove. Remember to take your time and try to remove the plant with minimal damage. It is sometimes necessary to cut or break away the current container to do so.
- Remove as much potting medium as possible by carefully pulling it away. It is sometimes helpful to soak the orchid’s roots for a few minutes to loosen the remaining potting mixture.
- Once the old potting medium has been removed, rinse the orchids roots with lukewarm water.
-

-Brown, mushy roots
Inspect and remove any dead roots. Healthy roots are firm and whitish green in color. Dead roots are quite the opposite. You will be looking for brown, mushy roots. The outer covering of dead roots can be pulled easily away with a light tug, leaving an inner wire-like core. Use your sharp, sterilized scissors to remove these dead roots.
- Dust cinnamon, our natural fungicide, over areas with fresh cuts to prevent infection.
- Cover the bottom of your new container with potting mix.
- Position the orchid in the center of the container and gently work your potting medium down and around the roots. You can gently tap the sides of the pot to help the mixture settle. If you are working with a peat moss mixture, you will want to keep it light and fluffy. The orchid’s leaves should remain above the potting mix, even if the plant is slightly unstable. Potting the orchid too deep can cause problems with rot.
- Use a stake to secure your orchid so its fragile roots aren’t damaged by unnecessary wobbling.
Care After Repotting
Place your repotted orchid in an area that will receive slightly less light for the first week. Your orchid will also benefit from increased humidity during this time. Misting it regularly, during the morning hours, will provide additional humidity. Take care not to allow water to sit in the crown of the orchid as this can cause rot.
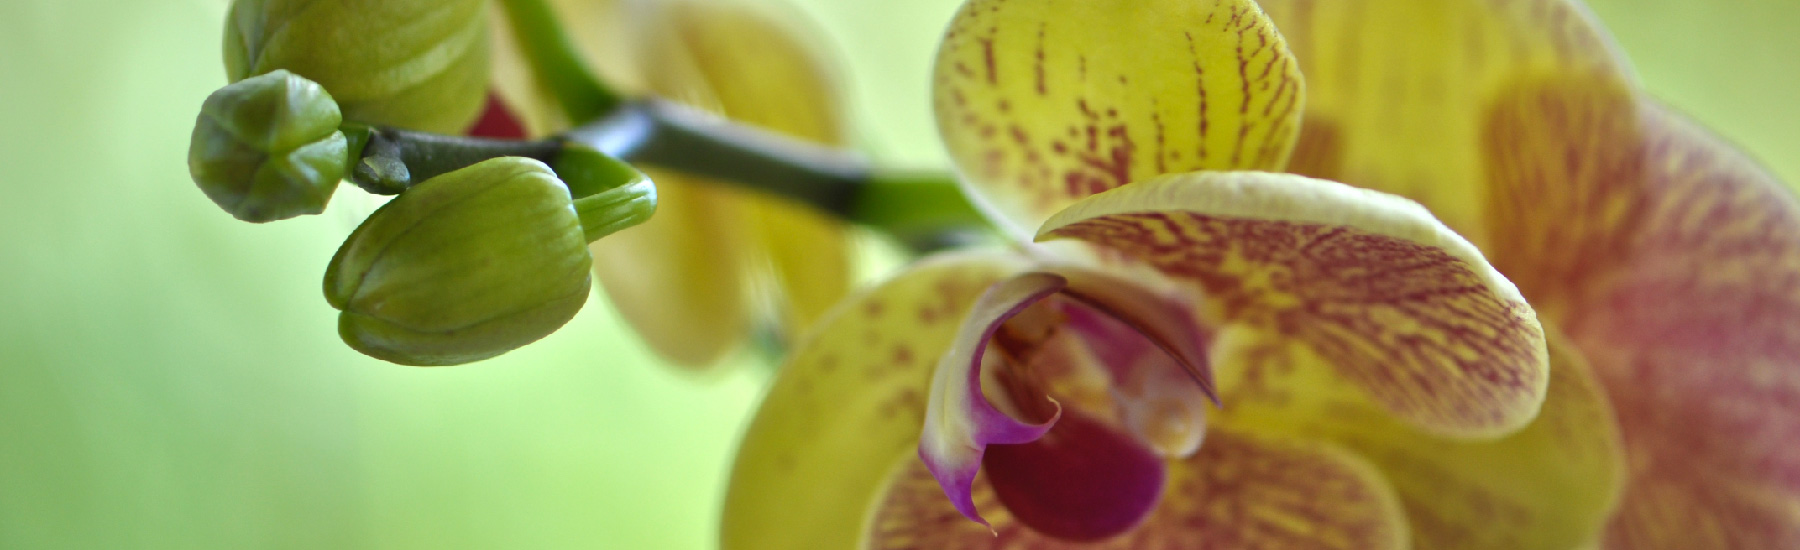
Featured image photo credit: Robert Mitchem via http://www.flickr.com/photos/29290711@N04/4233020776/
If you enjoyed this, please share it!


4 Responses to “The Right Way to Repot Your Orchid”
Leave a Reply


Ask an Expert
Questions about orchids?
Our experts love a challenge!

Busono
Oncidium
Photo of the Week
Submit your photo to be featured on the blog!
More Photo of the Week Winners
Submit Photo
My Orchid is growing in a Wooden pot (orchid pot) the roots are all over it growing nicely , my Qa is it has babies growing from a flower stem (once a flower) how long till I cut and replant and how do I get the original one out of this wooden crate pot ? Any help would be greatly appreciated .
Thank you
Madeline Shahan Nevarez
You can remove the babies (keikis) once they have developed several leaves and roots approximately 2-3 inches in length. For more information on keikis, visit our blog post Orchid Offspring: All About Keikis.
I cut the inner wire-like core when I removed brown and mushy roots. Was that the wrong thing to do?
For the most part, “peat moss” should only be used with terestrial type orchids.