


DIY: Mother’s Day Orchid Card
Author: Celeste BoothNo Comments
Care and Culture, Growing Indoors
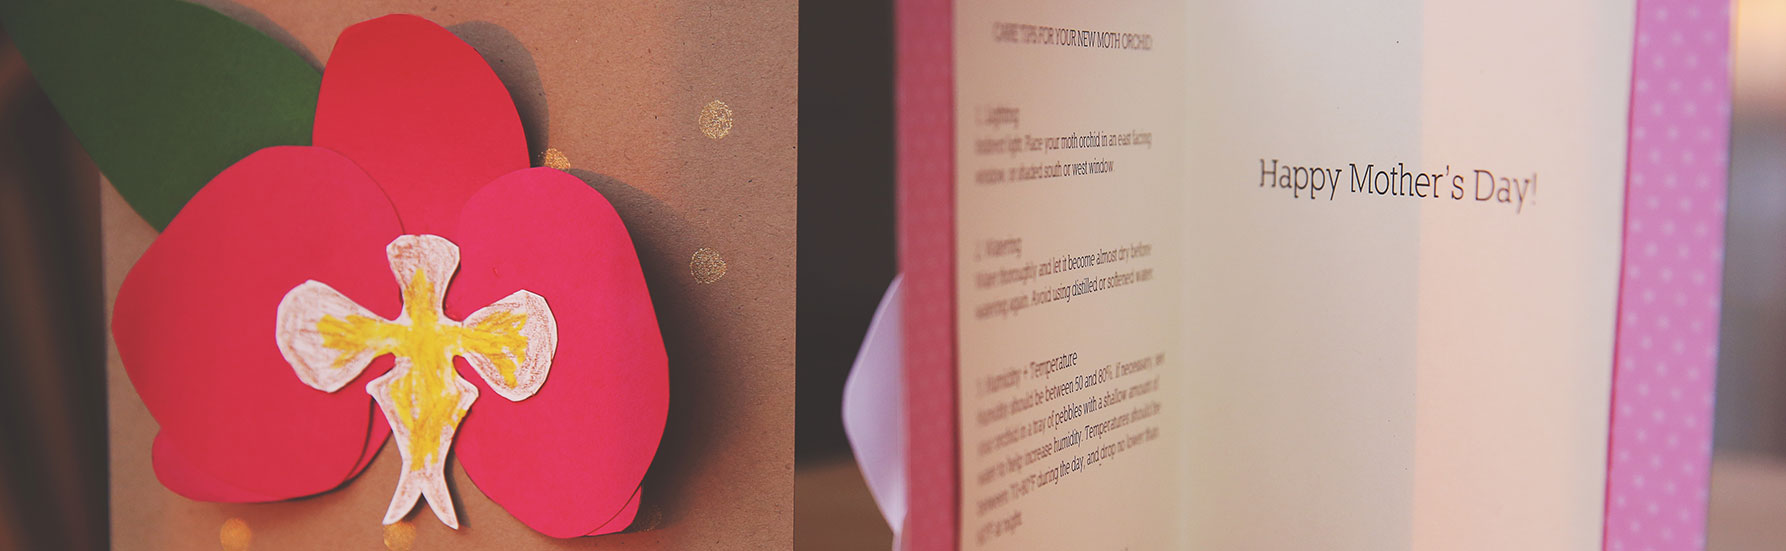
Gifting your mother an orchid plant for Mother’s Day this year? We have the perfect card just for you! And the best part? You can make it at home yourself.
Follow these 10 easy steps for your DIY Mother’s Day Orchid Card and you’ll have something you can be proud of and your mother will love!
Here’s what you’ll need:
- Scissors
- Colored paper (we used card-stock and a sheet of decorative, thin paper for the liner)
- Glue
- Access to a printer
- Pencil with unused eraser (optional)
- Gold ink pad (optional)
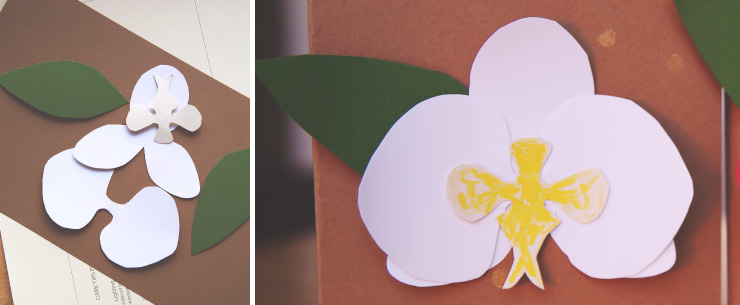
1. Print the orchid flower cutouts on the colored paper you prefer (perhaps white or pink for the flower petals, green for leaves, and yellow for center).
2. Cut out a 10in. x 6in. piece of paper for your card. Then another of the same size for your liner.
3. Print out the care instructions and cut to the indicated size (should be slightly smaller than your card size).
4. Cut all the flower cutouts and assemble as shown below (glue or tape together):
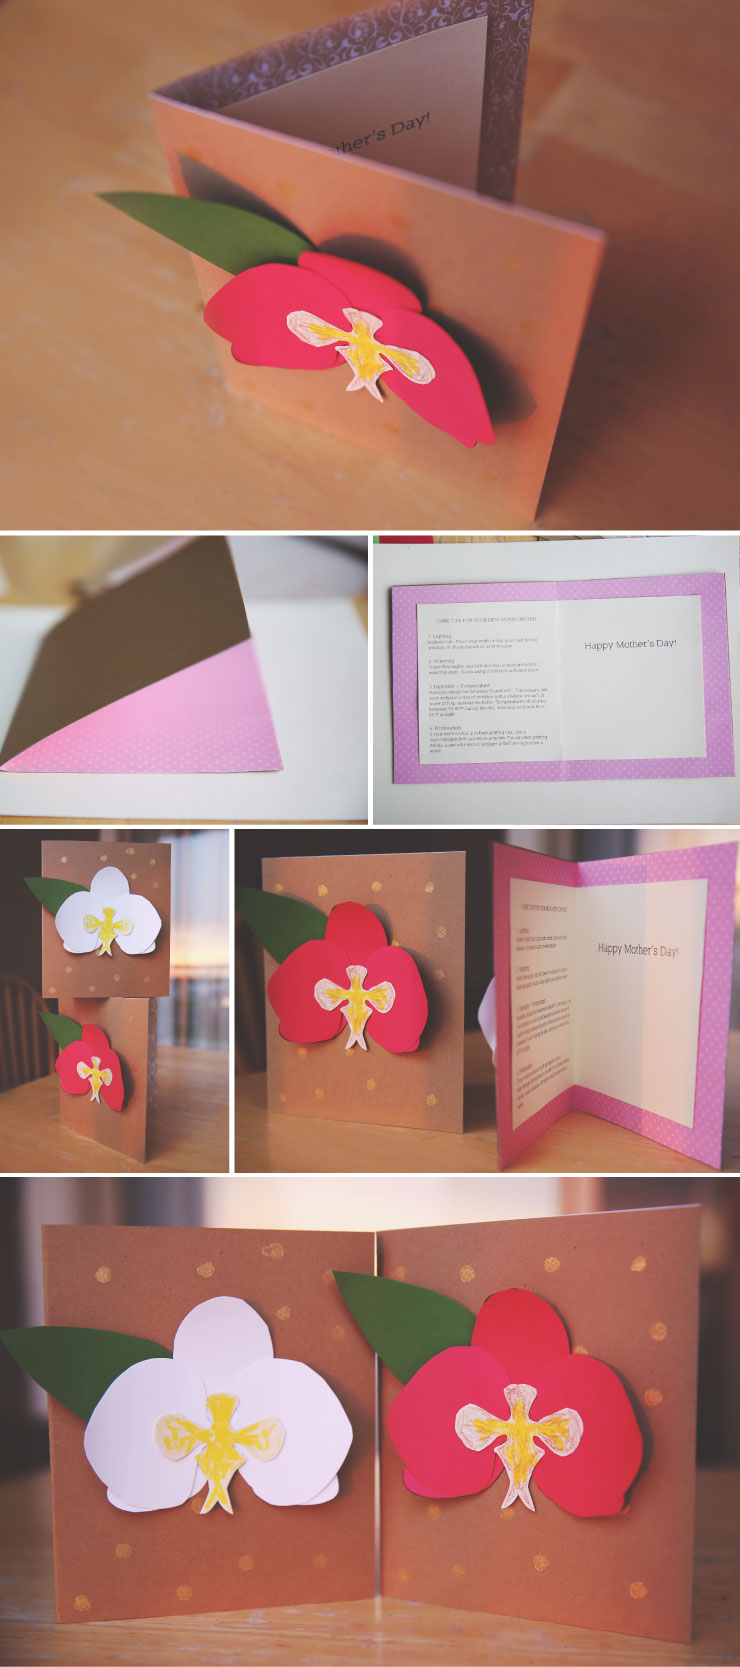
5. Glue your liner onto your card (your card should now have one side with the liner, and the other the original color).
6. Glue in your care instructions onto the side with the liner so it’s centered.
7. Once dry, fold your card in half.

8. Glue assembled orchid flower to front of your card.
9. If you want, take a gold ink pad and use the eraser side of a pencil to decorate the cover of the card with gold dots (see photo).

10. Write a personal note inside and give the card to your mother!
Happy Mother’s Day!
If you enjoyed this, please share it!


Ask an Expert
Questions about orchids?
Our experts love a challenge!
Busono
Oncidium
Photo of the Week
Submit your photo to be featured on the blog!
More Photo of the Week Winners
Submit Photo